| Using the Borders tab of the Report
Style Definition you can change the borders and shading of the
report. |
 |
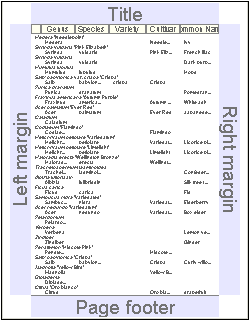 |
Each of the seven different sections of
the report's page layout can have different background colors and border
elements.
.......................................
|
Here's an explanation of the items on the Borders tab:
 |
* |
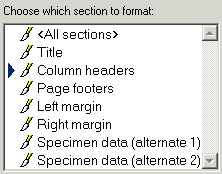
To change the color and
border characteristics for one section, choose that section's name using
the list shown here. To apply changes to two or more sections
simultaneously, use the <Ctrl> key on your keyboard to select
multiple sections. To apply changes to all seven sections, choose
the <All sections> item. |
 |
* |
If you do not want one
of the four edges or the column headers, you can disable that section of
the report.
|
|
|
* |
The background for each
section can be a different color. Use the lightest hues to make
subtle and pleasing backgrounds without using a lot of printer ink.
Only shades of gray are available when
you select the black and white option. |
 |
* |
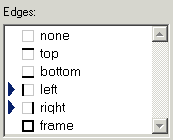
Choose which edge or
edges of the currently selected section you want to modify, then use the Width,
Style, and Edge color items to make your
customizations. To select two or more edges, use the <Ctrl>
key on your keyboard.
You'll find the print preview sample
window to be a convenient tool when defining edges because the edges of
adjacent sections do not overlap, they abut each other. Try various
combinations of edges to find one that works right for you. Look at
how the predefined report styles have been set up for some ideas. |
 |
* |
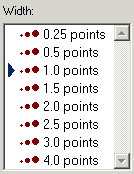
The width of each edge
can be adjusted from 0.25 font points to 4 font points. 0.25 is a
hairline edge. 4.0 is a fat edge. |
 |
* |
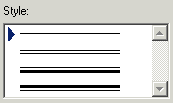
Choose simple edges or
one of the double-line edges.
|
|
|
*
|
Use darker colors for
edges to make them more visible.
Only shades of gray are available when
the black and white option is in effect.
.......................................
|
| See the sample at the
bottom of the window to get a good idea of what the section will look
like.
.................................
|
* |
 |
|
![]() Basic steps for printing specimen reports
Basic steps for printing specimen reports![]() Tips for printing great looking reports
Tips for printing great looking reports