|
Step 1: Select a filter
Before you begin the publishing process, be sure to select the filter that
you want to apply to your data. (See All about filters).
The selected filter will be used by the
publish process to select which records to include. Many of the templates
also make use of the selected filter to decide which columns to publish.
For example, all of the publishing templates described as "Columns of the
current filter", will publish only the columns of specimen data which are
part of the selected filter.
Step 2: The publish command
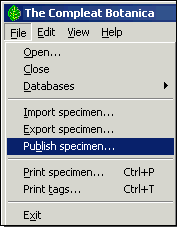 |
From the File menu, select the Publish specimen command. Note that this
menu item is only available when one of the Specimen Views is active.
|
Step 3: Choose the publishing mode
There are two basic types of documents that can be created using the publish
tool: detailed pages and summary pages. Both can use any of the
specimen data fields, and both use any combination of style sheets to produce
sophisticated layouts with colors, fonts, and graphics. Detailed pages
contain the data for exactly one specimen record, whereas summary pages contain
the data for all specimen.
|
Detailed pages are useful for creating nursery placards, web pages, and book
layouts. Summary pages are useful for creating indexes, table of contents,
photo proof sheets, labels, and abstracts. |
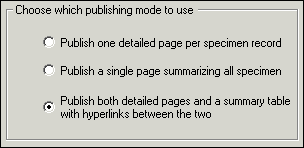 |
When choosing which publishing mode to use, remember that the summary page
mode will produce exactly one document, while the detailed page mode will
produce multiple documents.
If you want to produce an index or table of contents together with hyperlinks
to more detailed pages, choose the third publishing mode.
Step 4: Choose which specimen to publish
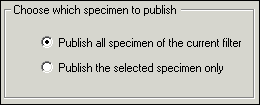 |
If you want to publish only a few of your specimen records, you can use the
multiple-selection feature of the Specimen List together with the "Publish
the selected specimen only" option. This is also useful when you
simply want to print or publish a single specimen record.
Typically
though, you'll want to "Publish all specimen of the current
filter". Remember to select the proper filter before you begin the
publish process.
|
Step 5: Choose styles to use
Four different types of styling can be applied to your published
documents: color schemes, font styles, font sizes, and logos.
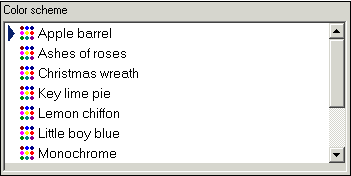 |
The color scheme applies a combination of two or three basic colors to
your published document. Each scheme sets the font colors,
background colors for tables, and line-break colors. |
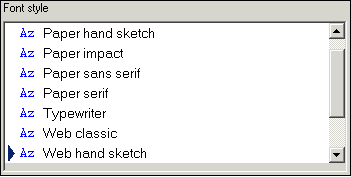 |
The font style defines which combination of fonts will be applied to
your documents. Some styles apply the same font throughout. Some
apply one font for labels and another for data values. Others set
specific fonts for titles.
When publishing to the Web, it's best to use the Web compatible font
styles. When your publishing results are intended to be printed it's
better to use the "Paper" styles. |
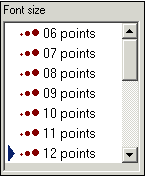 |
Choose any available font size. Note that most of your document
will use this font size but some will be slightly larger (titles) or
smaller (footers). |
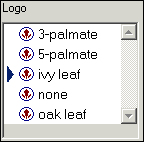 |
Choose any of the pre-supplied logos. To add you own logo to this
list, simply copy a GIF format picture file to the directory "C:/Program
Files/CompleatBotanica/Programs/Publish Templates/Style Sheets/Logos"
and it will appear in this list. |
| To see a sample of your selected styles, press the Show Sample
button. You can keep this publish preview window open as you proceed through
the remaining steps of the publish process. |
 |
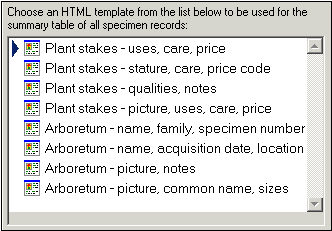
Step 6: Choose summary table template
Note: The "Choose summary table template"
step is not shown if you picked "Publish one detailed page per specimen
record" in step 3.
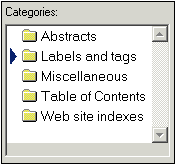 |
There are several categories of summary table templates. Select a
category on the left hand side to see the associated templates on the right-hand
side.
When publishing to the Web, be sure to use a summary table template
that has hyperlinks, since those templates are specifically customized for
creating links to the detailed documents. See the templates under
"Table of Contents" and "Web site indexes".
|
|
|
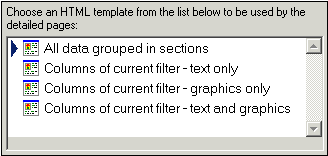
Step 7: Choose detailed page template
Note: The "Choose detailed page template"
step is not shown if you picked "Publish a single page summarizing all
specimen" in step 3.
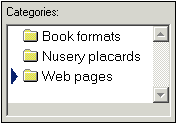 |
There are several categories of detailed page templates. Select a
category on the left hand side to see the associated templates on the right-hand
side.
When publishing to the Web, be sure to use one of the custom tailored
templates that have hyperlinks for navigating to the previous and next
pages (look under "Web pages").
|
|
|
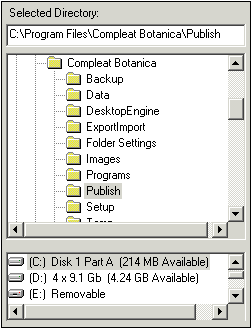
Step 8: Select output directory
|
|
Choose where you want the newly-created documents to be placed. If
the selected directory already has documents from a previous publication
process, you can choose whether to overwrite them or not.
Document files are given a filename corresponding to their
"Specimen number". Thus a detailed page for specimen
number "S101" would be published
in the document "S101.htm" and
any pictures and bitmaps would be copied to the sub-directory "S101_files".
The document name for the summary table of all specimen is always "index.htm"
|
 |
If you choose to overwrite existing documents from a previous
publication process, the standard document names will be re-used (see
above).
If you choose not to overwrite existing documents, the newly-created
documents will be given artificial names like "1.htm",
"2.htm", etc.
|
Step 9: Start the process
Since your finished pages are standard HTML files, you can use any Web browser
or Web publishing tool such as Front Page, to display and print your finished
documents. You can also further edit them to create special effect or to
touch-up the generated documents.
|
![]() How the publishing parser works
How the publishing parser works![]() Publication template replacement tags
Publication template replacement tags