|
The Print Preview window is a "what you
see is what you get" (WYSIWYG) display. Using the print preview helps
you to decide whether you need to adjust column widths, font sizes, or other
features, all without wasting ink cartridges or paper.
There are several features which make the print preview useful:
 |
1 |
The left and right, up
and down scrolling buttons allow you to see all pages of the report.
The page numbers in the middle show the page down and page across
numbers. This example is page one down and page five across.
Tip: To continuously scroll, press
and hold the button down until you reach the desired page.
|
 |
2 |
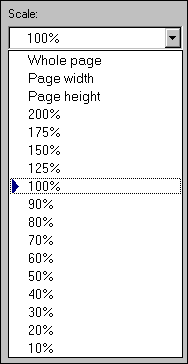
The page scale feature
allows you to see more or less of the report on your screen.
Remember also that the entire print preview window can be sized larger or
smaller just like any other sizable window.
The whole page option scales the
preview so that you can see the complete page within the window. The
page width option scales the preview so that you can see the entire
width of the report within the window. The page height option
scales the preview so that you can see the entire height of the report
within the window. |
 |
3 |
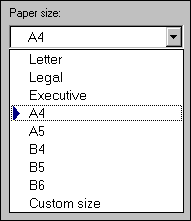
The paper size feature
lets you match the size of paper in your printer to the size of the
preview. |
 |
4 |
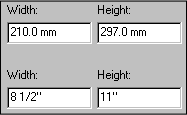
When using paper with a custom size, use the width and height
items to match your paper's dimensions.
If you want to specify your dimensions in US Customary units (inches)
or metric units (millimeters), you can use the Customize Setting window to change
how units are specified. See the document
Choosing measurement units for reports and labels.
|
 |
5 |
Your report's
orientation is set using this print preview feature; it is not set using
the portrait/landscape option under printer settings.
.......................................
|
|
![]() Basic steps for printing specimen reports
Basic steps for printing specimen reports![]() Tips for printing great looking reports
Tips for printing great looking reports![]() Defining report style borders and shading
Defining report style borders and shading