|
Here's an overview of what it takes to prepare and print labels.
| Step 1: Selecting which labels to print |
|
You can use two different methods to select which specimen to include
on your labels. One method uses your currently selected filter, the other
method uses the "Tag needs printing" column.
If you're comfortable creating and using filters, you'll find this to
be a powerful way to select exactly which specimen to include. You can use
any existing filter or you can create a new one just for the purpose of selecting which
records to include on your labels. Use the normal methods for defining and selecting
your filter, then proceed to Step 2.
|  |
 |
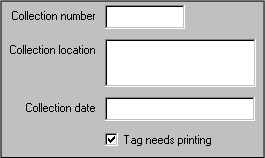
If you want to quickly print labels for just a few of your specimen, you'll
find the second method to be fast and straightforward. Go to the Herbarium View
and check the box named "Tag needs printing" for each specimen to be printed.
Note that each new specimen record that you create automatically has this box
checked making it convenient for you to print labels for all your new entries.
|
|
| Step 2: Print command |
 |
Begin the print process by choosing
the Print Labels command from the File menu. |
|
| Step 3: Modify an existing label format |
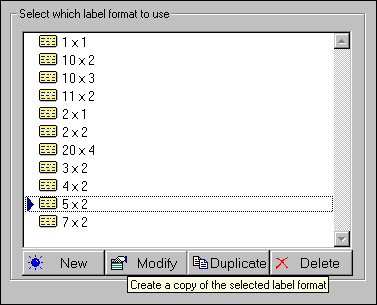
| Choose one of the predefined label formats as a template for your own
custom label layout. Double-click on the item to modify the layout,
formatting, and printing options. See the document
Choosing a label format for snapshots of a few of the pre-installed layouts. |
 |
| Step 4: Check your printing options |
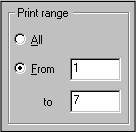
| Choose whether to print all pages or a From and To range of pages. |
 |
 |
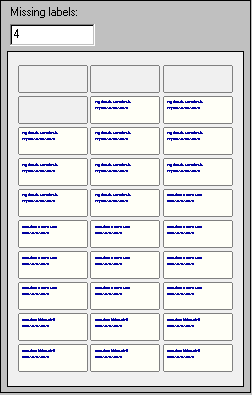
Use the Missing labels option to re-use a sheet of labels
that's already been partially been used.
See WYSIWYG label preview for more about this. |
|
 |
If you have more than one printer,
select which one to use. Use the Print setup button to
change special printer characteristics. |
|
| Step 5: Press the Print button |
|
|
|
![]() Tips for setting up accurate label layouts
Tips for setting up accurate label layouts![]() Defining label text and data values
Defining label text and data values![]() Defining label fonts and colors
Defining label fonts and colors![]() Choosing which labels to print
Choosing which labels to print