|
Report layouts define how a specimen listing will look when printed. A report layout
specifies font faces, point sizes, and colors to be used with your printout. The report
layout does not specify what data to print, what columns to include, or what sorting to
apply to the printed records -- these are all specified through the current filter.
A single report layout can be applied to any filter; thus when you've created a layout with
your own personal look-and-feel, you can use it repeatedly to produce a variety of different
printouts.
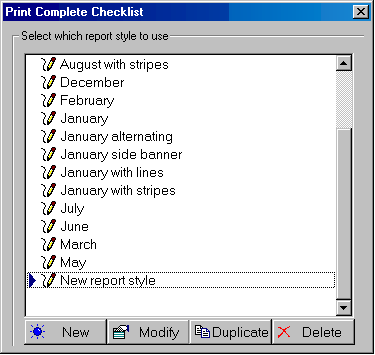
To create a report layout, you can begin by pressing the New button or the
Duplicate button from within the Print dialog box. Use the Print report . . .
menu item of the File menu to get there.
 A new
report layout contains everything needed for printing a reasonably good report.
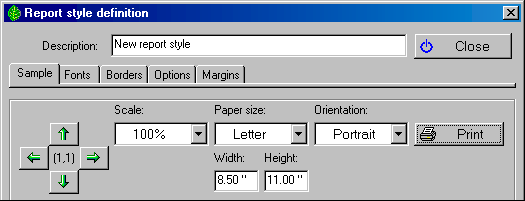
Use the five tabs along the top of the Report Style Definition window to see all
of the formatting options available. Changes that you make can immediately
be seen in the "sample" area.
 Modify
the new report layout by making one change at a time to see how it affects the
sample. When you're satisfied simply close the window and your new layout
will be ready for printing. When you're ready to learn more specific details
of the printing process go to the Index to
printing reports.
|
|